
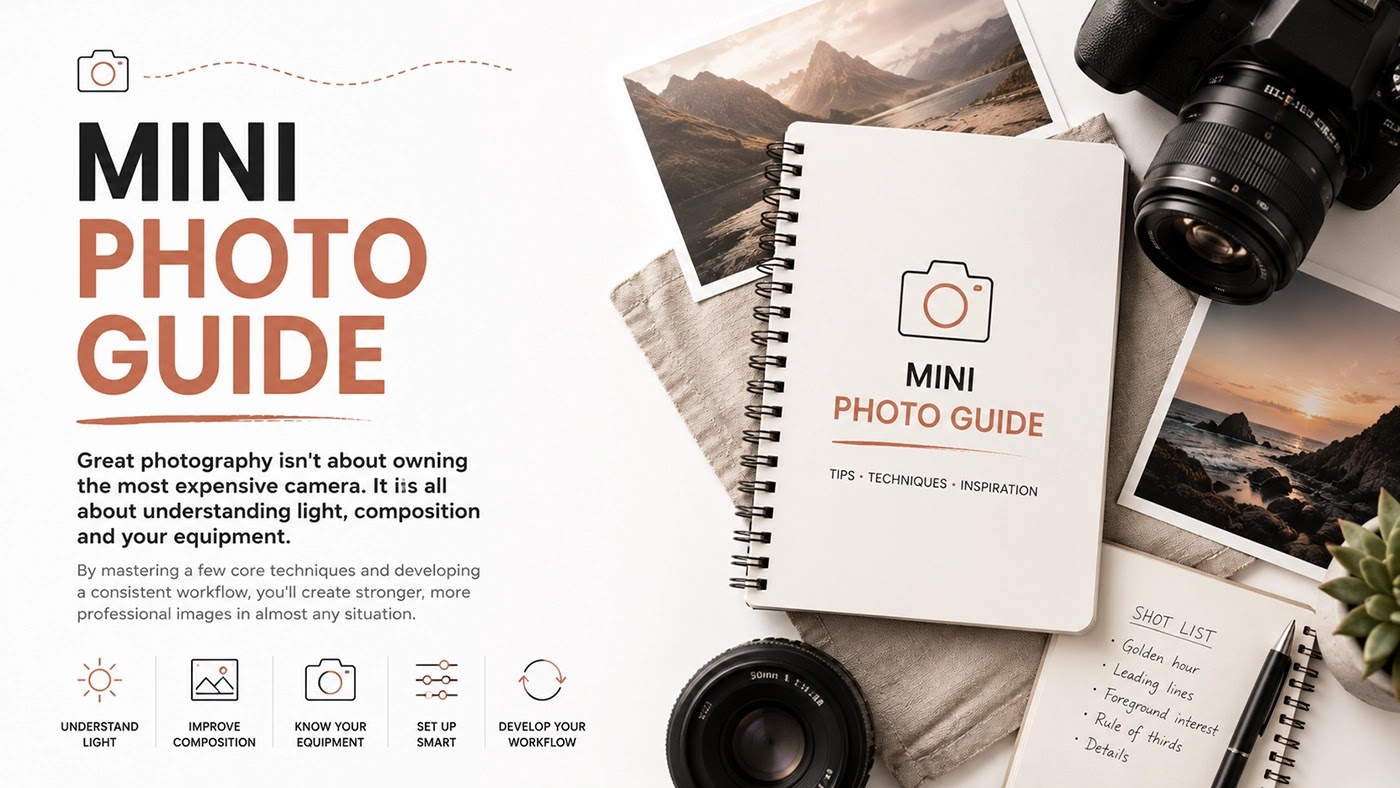
Capture More Than Just Moments
Great photography isn’t about owning the most expensive camera. It is all about understanding light, composition and your equipment. By mastering a few core techniques and developing a consistent workflow, you’ll create stronger, more professional images in almost any situation.
Choosing Your Camera
The best camera is the one you’ll actually carry. Whether you use a smartphone or a dedicated camera, understanding your equipment will help you capture better travel photos.
Camera vs Smartphone
Modern smartphones are perfect for everyday travel photography, while dedicated cameras provide greater image quality and creative control.
- Smartphones are lightweight and convenient.
- Cameras perform better in low light.
- Optical zoom offers higher image quality.
- Choose what suits your style of travel.
Tip: The best camera is the one you always have with you.
Choose the Right Lens
Different lenses create different perspectives. If you can only take one lens, a versatile zoom is usually the best choice for travel.
- Wide-angle for landscapes.
- Standard zoom for everyday travel.
- Telephoto for wildlife and details.
- Prime lenses for low light.
Tip: A 24–70mm equivalent covers most travel photography.
RAW or JPEG?
JPEG files are ready to share immediately, while RAW files preserve much more image data for editing later.
- JPEG saves storage space.
- RAW gives maximum editing flexibility.
- RAW improves highlight and shadow recovery.
- Use RAW for important trips.
Tip: If your camera supports RAW + JPEG, record both.
Essential Accessories
A few small accessories can make travelling easier and help you avoid missing the perfect shot.
- Spare batteries.
- Extra memory cards.
- Microfibre cleaning cloth.
- Lightweight travel tripod.
Tip: Pack accessories in your carry-on to keep them safe and ready to use.
Professional Photography
Great photography starts with the right camera settings. Understanding a few professional techniques will help you capture sharper, cleaner and more balanced images in almost any situation.
Shoot in RAW
RAW files retain far more image data than JPEGs, giving you greater control when editing exposure, colours and white balance.
- Recover more highlight and shadow detail.
- Adjust white balance without quality loss.
- Better colour depth and dynamic range.
- Ideal for landscape and travel photography.
Tip: Use RAW + JPEG if you want instant sharing and maximum editing flexibility.
Exposure Settings
Aperture, shutter speed and ISO work together to control the brightness and appearance of every photograph.
- Use a low ISO whenever possible.
- Select the aperture for the depth of field you want.
- Adjust shutter speed to freeze or blur motion.
- Balance all three settings for the best exposure.
Tip: Aperture Priority mode is an excellent choice for most travel photography.
Use the Histogram
The histogram provides a much more accurate indication of exposure than your camera screen, especially in bright sunlight.
- Avoid clipped highlights.
- Check shadow detail.
- Don’t rely on LCD brightness.
- Review the histogram after important shots.
Tip: Aim for a balanced histogram without losing detail at either end.
Keep Images Sharp
A tripod helps you produce sharper images while allowing lower ISO values and slower shutter speeds.
- Perfect for sunrise and sunset.
- Essential for night photography.
- Keep ISO low for cleaner images.
- Clean your lens before every shoot.
Tip: Use a remote shutter or camera timer to eliminate vibration.
Understanding Natural Light
Light has a greater impact on your photos than your camera. Learning when and how to use natural light will instantly improve your photography.
Golden Hour
Shoot shortly after sunrise or before sunset for warm colours, soft light and long shadows that add depth to landscapes and portraits.
Best for: Landscapes, portraits and travel photography.
Blue Hour
The period just before sunrise and after sunset creates cool blue tones that are perfect for cityscapes, architecture and long exposures.
Best for: Night scenes, skylines and reflections.
Overcast Days
Clouds soften the sunlight, reducing harsh shadows and creating even lighting that’s ideal for portraits, woodland and macro photography.
Best for: Portraits and close-up photography.
Midday Sun
Bright midday light creates strong contrast and deep shadows. Look for shade or use the dramatic light creatively for architecture and black & white images.
Best for: High-contrast and monochrome photography.
Camera Settings
These settings provide a solid starting point for common photography styles. Adjust them to suit the available light and your creative vision.
Landscape
Use f/8–f/11 with ISO 100 for maximum sharpness throughout the scene.
Tip: Use a tripod in low light.
Portrait
Shoot at f/1.8–f/4 with ISO 100–400 to create a soft blurred background.
Tip: Focus on the subject’s eyes.
Street & Wildlife
Use around f/5.6 with Auto ISO and a fast shutter speed to capture moving subjects.
Tip: Prioritise shutter speed over ISO.
Long Exposure
Try f/11 with ISO 100, using a tripod and remote shutter for the sharpest results.
Tip: Use an ND filter in daylight.
Manual Mode Tip
Learn by adjusting one setting at a time. Understanding how aperture, shutter speed and ISO work individually makes manual photography much easier.
Essential Lens Filters
Quality filters help improve your photos in-camera while protecting your lenses during travel.
Polarising Filter
Reduces reflections, cuts glare and makes skies, water and foliage appear richer and more vibrant.
ND Filter
Reduces incoming light, allowing slower shutter speeds for silky waterfalls, rivers and long exposure photography.
UV / Protective Filter
Protects the front of your lens from scratches, dust and accidental knocks during everyday travel.
Professional Advice
Invest in quality lenses before upgrading your camera body. Good glass has a far greater impact on image quality than extra megapixels.
Lightroom RAW Editing Workflow
A consistent workflow produces cleaner edits, saves time and helps every image maintain a consistent professional look. Follow the same order for every RAW file instead of adjusting sliders randomly.
1. Follow a Consistent Workflow
Professional photographers rarely edit randomly. Working through each image in the same order creates faster, more consistent results.
- White Balance
- Exposure & Tone
- Colour Grading
- Sharpening & Noise Reduction
- Lens Corrections & Crop
- Export
Pro Tip: Editing in the same order every time reduces mistakes and speeds up your workflow.
2. Correct White Balance
Always correct colour before adjusting brightness. An accurate white balance provides the foundation for every other edit.
- Use Lightroom’s White Balance Eyedropper.
- Click on a naturally grey or white object.
- Adjust Temperature for warmer or cooler tones.
- Adjust Tint to remove green or magenta colour casts.
- Aim for realistic, neutral colours before making creative edits.
Pro Tip: If the colours look wrong, every adjustment afterwards becomes more difficult.
3. Balance Exposure & Tone
Once colour looks natural, balance the overall brightness before adding contrast.
- Exposure – Adjust overall brightness.
- Highlights – Recover detail in bright skies.
- Shadows – Reveal darker areas.
- Whites – Set the brightest white point.
- Blacks – Add depth and contrast.
- Contrast – Apply only after exposure is balanced.
Pro Tip: Small adjustments almost always produce more natural-looking photographs.
4. Colour Grading
Enhance colours to support the mood of the photograph without making them appear unrealistic.
- Use Vibrance before Saturation.
- Protect natural skin tones.
- Use the HSL panel to adjust individual colours.
- Deepen blue skies without affecting other colours.
- Reduce oversaturated greens or oranges where necessary.
Pro Tip: If viewers notice your editing before your subject, you’ve probably over-edited.
5. Sharpening & Noise Reduction
RAW files naturally appear softer than JPEGs. Apply sharpening carefully while keeping digital noise under control.
- Add enough sharpening to define edges.
- Avoid visible halos.
- Hold Alt / Option while moving the Masking slider.
- Sharpen only important areas.
- Apply Noise Reduction carefully at higher ISO values.
Pro Tip: Zoom to 100% when sharpening to judge detail accurately.
6. Final Refinements
Complete your edit by correcting optical issues and improving composition before exporting.
- Enable Lens Profile Corrections.
- Remove distortion and vignetting.
- Straighten horizons.
- Crop for stronger composition.
- Remove sensor dust or distractions.
- Add a subtle vignette if appropriate.
Pro Tip: Small finishing touches often make the biggest difference.
7. Export Your Images
Export settings should match where your photographs will be viewed or printed.
- Instagram: JPEG • sRGB • 2048px
- Facebook: JPEG • sRGB • 2048px
- Website: JPEG • 80–90% Quality
- Print: JPEG or TIFF • Full Resolution • 300 DPI
- Back up your original RAW files before exporting.
Pro Tip: Edit your best image first, then use Lightroom’s Sync feature to apply settings across the rest of the shoot before making final adjustments.
Travel Photography Essentials
Travel Essentials
- Carry camera gear in hand luggage.
- Pack spare batteries & memory cards.
- Back up photos every day.
- Use an unbranded camera bag.
- Check the weather before travelling.
Tip: Preparation helps protect both your equipment and your images.
Packing Your Gear
- Carry-On: Camera, lenses, batteries, cards, laptop & SSD.
- Checked Bag: Tripod, clothing and non-valuable accessories.
- Choose an unbranded camera bag.
Pro Tip: Keep one memory card separate from your camera bag.
Batteries & Memory
- Carry at least two spare batteries.
- Use several smaller memory cards.
- Pack charger and power bank.
- Keep lithium batteries in hand luggage.
Tip: Format memory cards only after backing up your photos.
Photo Backups
- Follow the 3-2-1 backup rule.
- Use a portable SSD.
- Back up to cloud when possible.
- Review and copy images every evening.
Remember: Your photos are often worth more than the camera.
Plan Ahead
- Check sunrise & sunset times.
- Monitor weather and cloud cover.
- Scout locations before travelling.
- Arrive 30–60 minutes early.
Apps: PhotoPills, Windy, Google Maps & Google Earth.
Essential Apps
- Adobe Lightroom – RAW editing.
- Snapseed – Quick edits.
- PhotoPills – Planning.
- Windy – Weather forecasts.
- Google Maps – Navigation.
- Airalo – Travel eSIMs.
Final Advice
- Chase great light, not expensive gear.
- Slow down and refine composition.
- Take multiple exposures.
- Review mistakes and keep practising.
- Enjoy the experience.
Remember: Every trip is an opportunity to improve.