
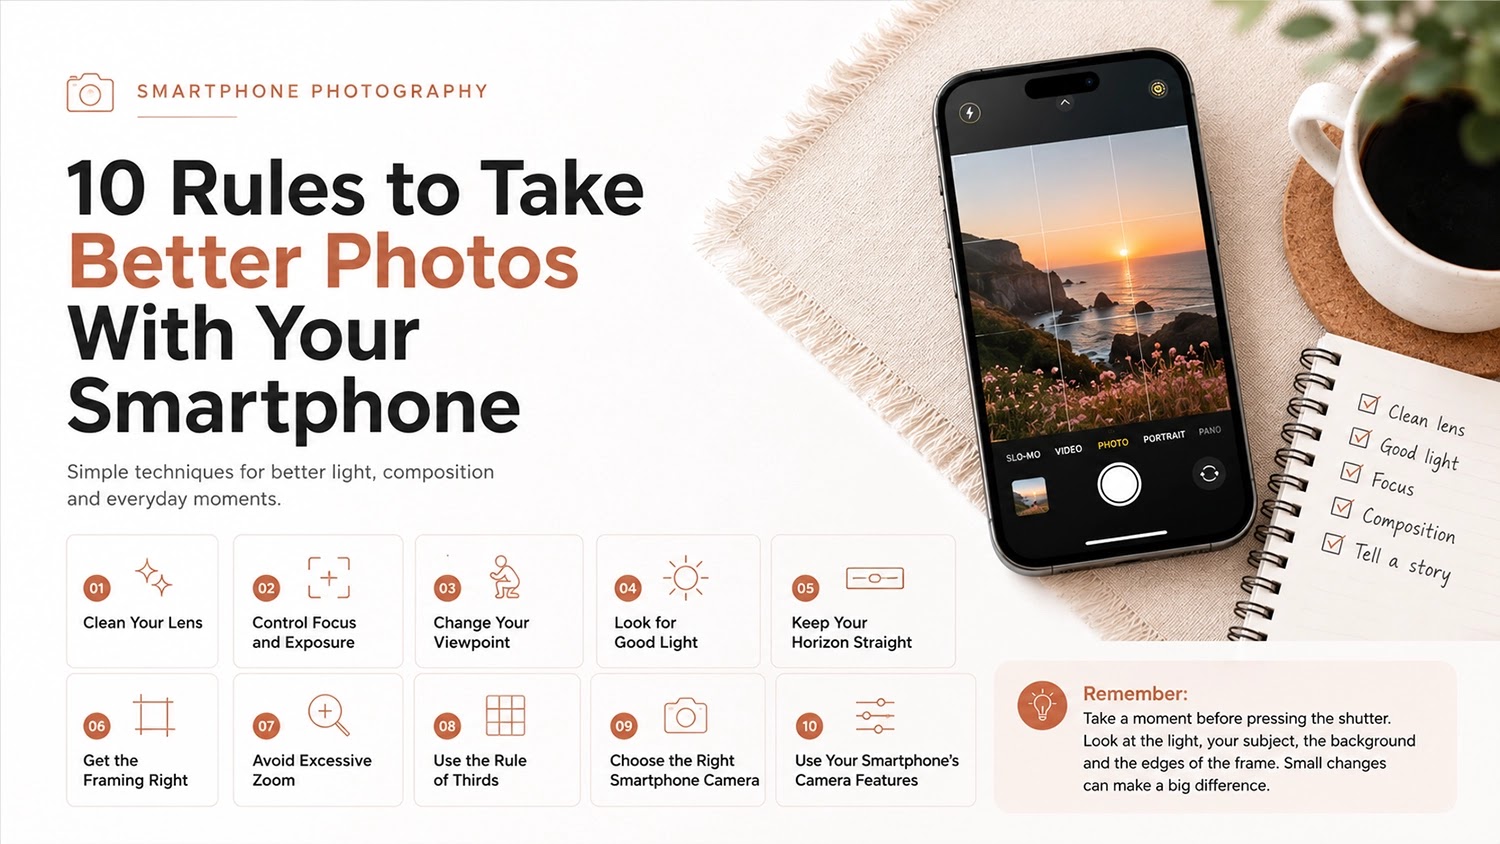
10 RULES TO TAKE BETTER PHOTOS WITH YOUR SMARTPHONE
You do not need an expensive camera to take great photos. Your smartphone already has many powerful camera features that can help you take better pictures. The key is knowing how to use them. These 10 simple rules will help you get more from your smartphone camera and take photos that look sharper, brighter and more interesting.
Smartphone Photography
Start with these simple techniques and make better use of the camera you already carry with you every day.
Clean Your Lens
Your smartphone camera spends most of its time in your pocket, bag or hand. The lens can quickly collect fingerprints, dust and grease.
The Problem
A dirty lens can make photos look hazy or blurry. It can also create strange streaks around lights, especially at night. No editing app can completely fix this.
The Solution
Gently wipe the camera lens with a clean microfibre cloth before taking an important photo. A clean, soft shirt sleeve can work in an emergency.
Control Focus and Exposure
Your smartphone normally decides where to focus and how bright the photo should be. You can often get better results by taking control yourself.
Tap to Focus
Tap your main subject on the screen before taking the photo. This tells the camera what you want it to focus on.
Adjust the Exposure
After tapping the screen, you will usually see a small sun or brightness symbol. Move it up or down to make the photo brighter or darker.
- Bright sky: Lower the exposure to keep detail in the clouds.
- Subject in shadow: Increase the exposure slightly.
- Strong contrast: Adjust the exposure until the main subject looks right.
Change Your Viewpoint
Most people take photos while standing up and holding their phone at chest or eye level. Changing your position can make an ordinary photo much more interesting.
Get Low
Crouch down when photographing children, pets, flowers or other subjects close to the ground. Taking the photo from their level can make the subject look more important.
Shoot from Above
Hold your phone above the subject and point it down. This works well for:
- Food
- Table settings
- Clothing
- Products
- Patterns
- Interesting shapes
Look for Good Light
Good light is one of the most important parts of taking a good smartphone photo.
Avoid Strong Midday Sun
Bright sunlight directly above you can create dark shadows under the eyes and nose and make colours look too harsh.
Instead, look for:
- Open shade
- A bright window
- Early morning light
- Late afternoon light
- The golden hour
Be Careful with Flash
Smartphone flash can create strong, direct light and hard shadows. When possible, use natural light instead.
Keep Your Horizon Straight
A crooked horizon can make even a good photo look wrong. It is easy to miss a slight tilt when looking at a small phone screen.
Turn On the Grid
Go into your camera settings and turn on the grid. Use the lines to help keep horizons, buildings, tables and walls straight.
Use Your Phone’s Level
Some smartphones have a built-in level or guide. This can be useful for landscapes, buildings and photos taken from directly above.
Straighten Later
If your photo is slightly tilted, you can usually fix it using your phone’s editing tools.
Get the Framing Right
Framing means deciding what to include in your photo and what to leave out. A common problem is including either too much or too little.
When the Photo Is Too Wide
The ultra wide camera can be useful when you want to show a large area. However, including too much can make your main subject look very small.
- Move closer: Walk closer to your subject when possible.
- Choose a main subject: Give the viewer something obvious to look at.
- Use leading lines: Roads, paths and fences can guide the eye.
Avoid Excessive Zoom
Too much digital zoom can reduce image quality. It can also remove important parts of the scene and make the photo feel cramped.
Use Optical Zoom
Some smartphones have separate telephoto cameras that allow you to get closer without moving towards your subject.
Depending on the phone, you may have options such as 2x, 3x or 5x. Use a dedicated zoom camera when available.
Leave Some Space
Leaving some empty space around your subject can make the photo feel more comfortable and balanced.
If a person is looking towards the left, for example, leave some space in front of them.
Use the Rule of Thirds
The Rule of Thirds is a simple way to create a more balanced photo. Imagine your screen divided into nine sections by two horizontal and two vertical lines.
For Landscapes
Place the horizon near the top third when the ground is the most interesting part of the scene.
Place the horizon near the bottom third when the sky is the main attraction.
For People and Objects
Try placing your main subject near one of the four points where the grid lines meet instead of always putting it in the centre.
Choose the Right Smartphone Camera
Not all smartphones have the same camera system. Some have a main camera and an ultra wide camera, while more advanced models may also have a dedicated telephoto camera.
Main Camera
The main camera is usually the best choice for everyday photos, including people, food, pets, travel and everyday scenes.
Ultra Wide Camera
The ultra wide camera lets you fit more into the photo. It is useful for landscapes, buildings, large groups and small rooms.
Remember that objects close to the edges can sometimes look stretched.
Telephoto Camera
Some smartphones, particularly Pro or premium models, have a dedicated telephoto camera. It is useful for portraits, animals, sports, events and distant details.
Standard iPhone vs iPhone Pro
A standard iPhone may have a main camera and an ultra wide camera, while an iPhone Pro model can also include a dedicated telephoto camera. This gives the Pro model more options when photographing distant subjects.
The exact cameras and zoom options vary between iPhone generations, so check which cameras your particular model has.
Steady Your Hands
Even the best smartphone camera can produce a blurry photo if the phone moves while you are taking the picture. Keeping your phone steady is especially important in low light and when using zoom.
Hold Your Phone with Both Hands
Hold the phone firmly with both hands and keep your elbows close to your body. This creates a more stable position and reduces small movements when you press the shutter button.
Create a Stable Base
Instead of holding your phone out with your arms fully extended, keep it closer to your body. You can also lean gently against a wall, table or other solid surface when you need extra stability.
Be Extra Careful in Low Light
When there is less light, the camera needs more time to capture the image. Even a small movement can make the photo blurry. Hold the phone as still as possible and wait for the photo to finish.

The Main Things to Remember
You do not need an expensive camera or the latest smartphone to take better photos. Start with these simple habits:
- Clean your lens.
- Tap to focus.
- Control the brightness.
- Look for good light.
- Try different viewpoints.
- Keep your horizon straight.
- Frame your subject carefully.
- Avoid excessive zoom.
- Use the right smartphone camera.
- Use camera features when they help.